Potrace
Sat, Feb 2, 2019Some earlier posts on this site have featured drawings I made with pen and ink back in the nineteen-eighties. I’m thinking in particular of Another slice and Cigar shop. The process of getting from paper to digital was interesting. After scanning to JPEG I wanted to get the images into an SVG format, and the command-line utility potrace was the perfect tool for the job.
As a preparatory step, I found I had to convert the JPEG to a BMP. ImageMagick made short work of that:
convert image.jpg image.bmp
Then all I had to do was run potrace like so:
potrace -s image.bmp
The -s flag here tells potrace to give us an SVG file. There are many other
options, but two of the handiest are -t, --turdsize n and -k, --blacklevel n. The “turdsize” tells potrace to ignore speckles smaller than a certain size,
and it has the overall effect of cleaning things up and smoothing things out.
The trade-off is in acuity, so for a given image you’ll want to experiment. The
“blacklevel” is a number between 0 and 1 that determines the threshold for
whether a given pixel of input will be treated as black or transparent in the
output. At -k 1 everything will be black; at -k 0 everything will be
transparent.
For my black and white line drawings getting the right blacklevel was unproblematic, but things can get trickier when starting from a color photograph, and I have found it helpful to do some prep work with an image editor like GIMP. Let’s walk through an example, and since this is the Internet, let’s start with a picture of a cat:
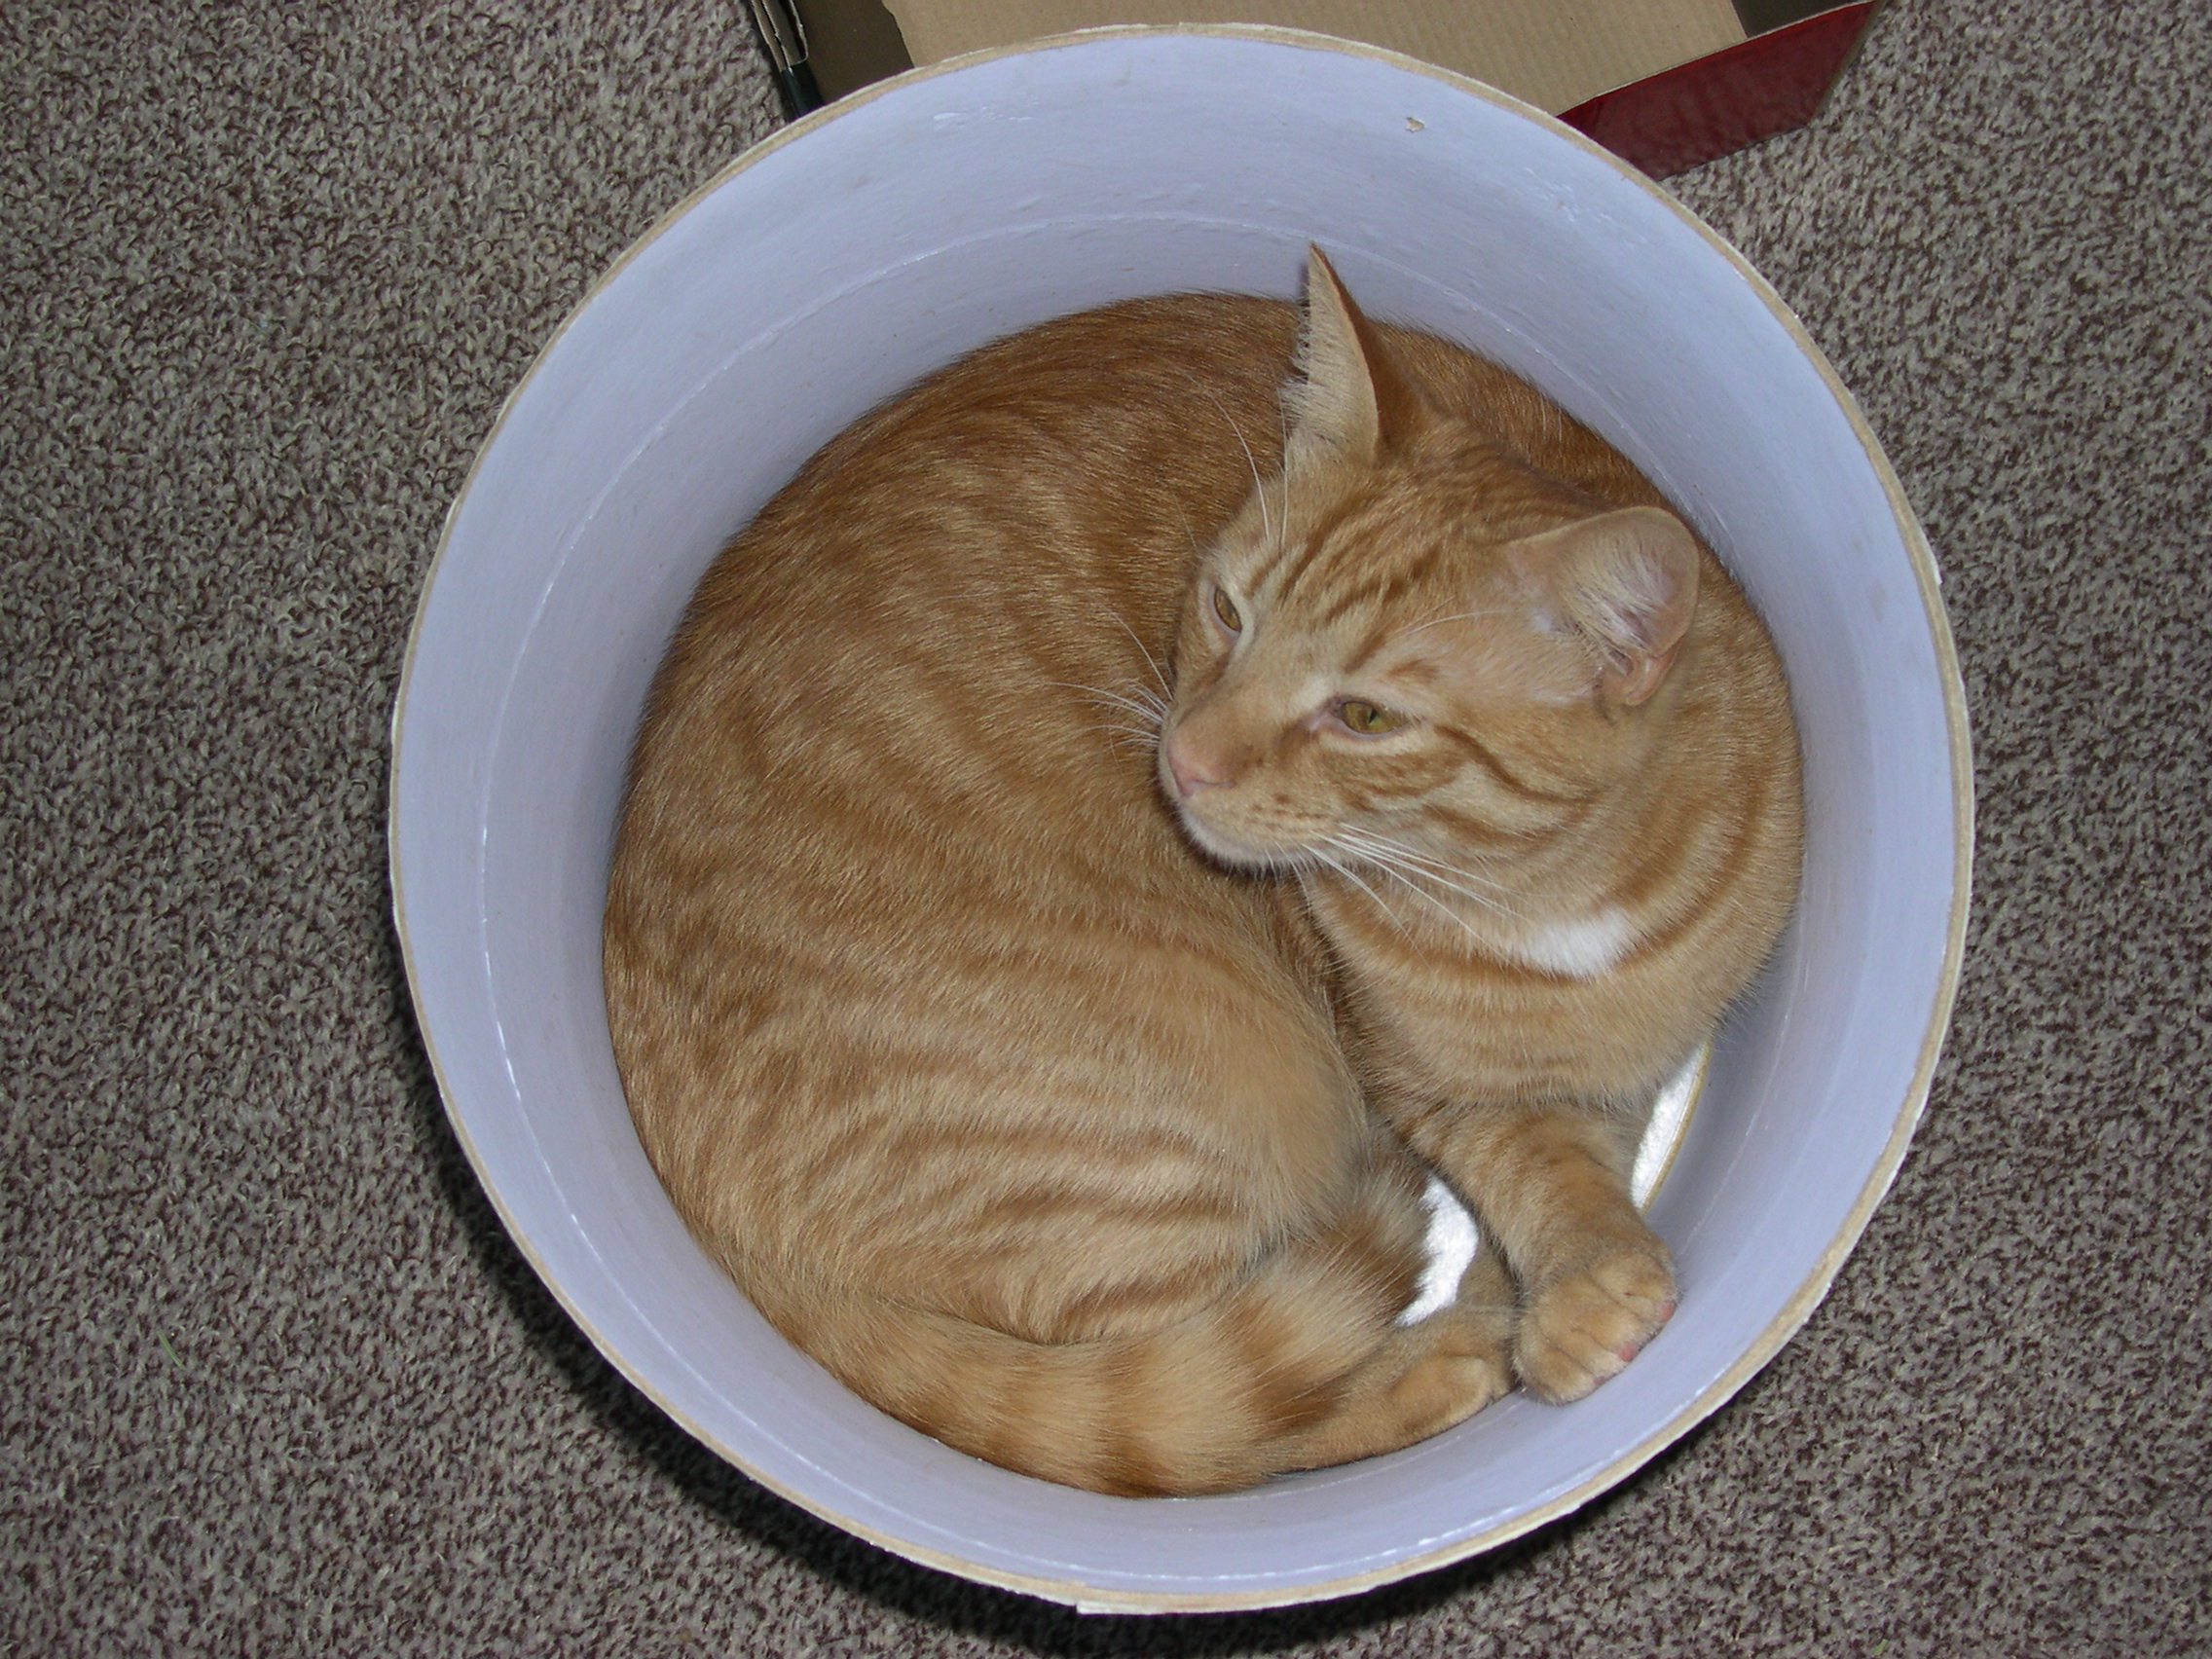
Original photograph
The first thing I’ll do is open the image in GIMP and desaturate it (make it black and white). I use Colors > Desaturate > Lumosity to do that:
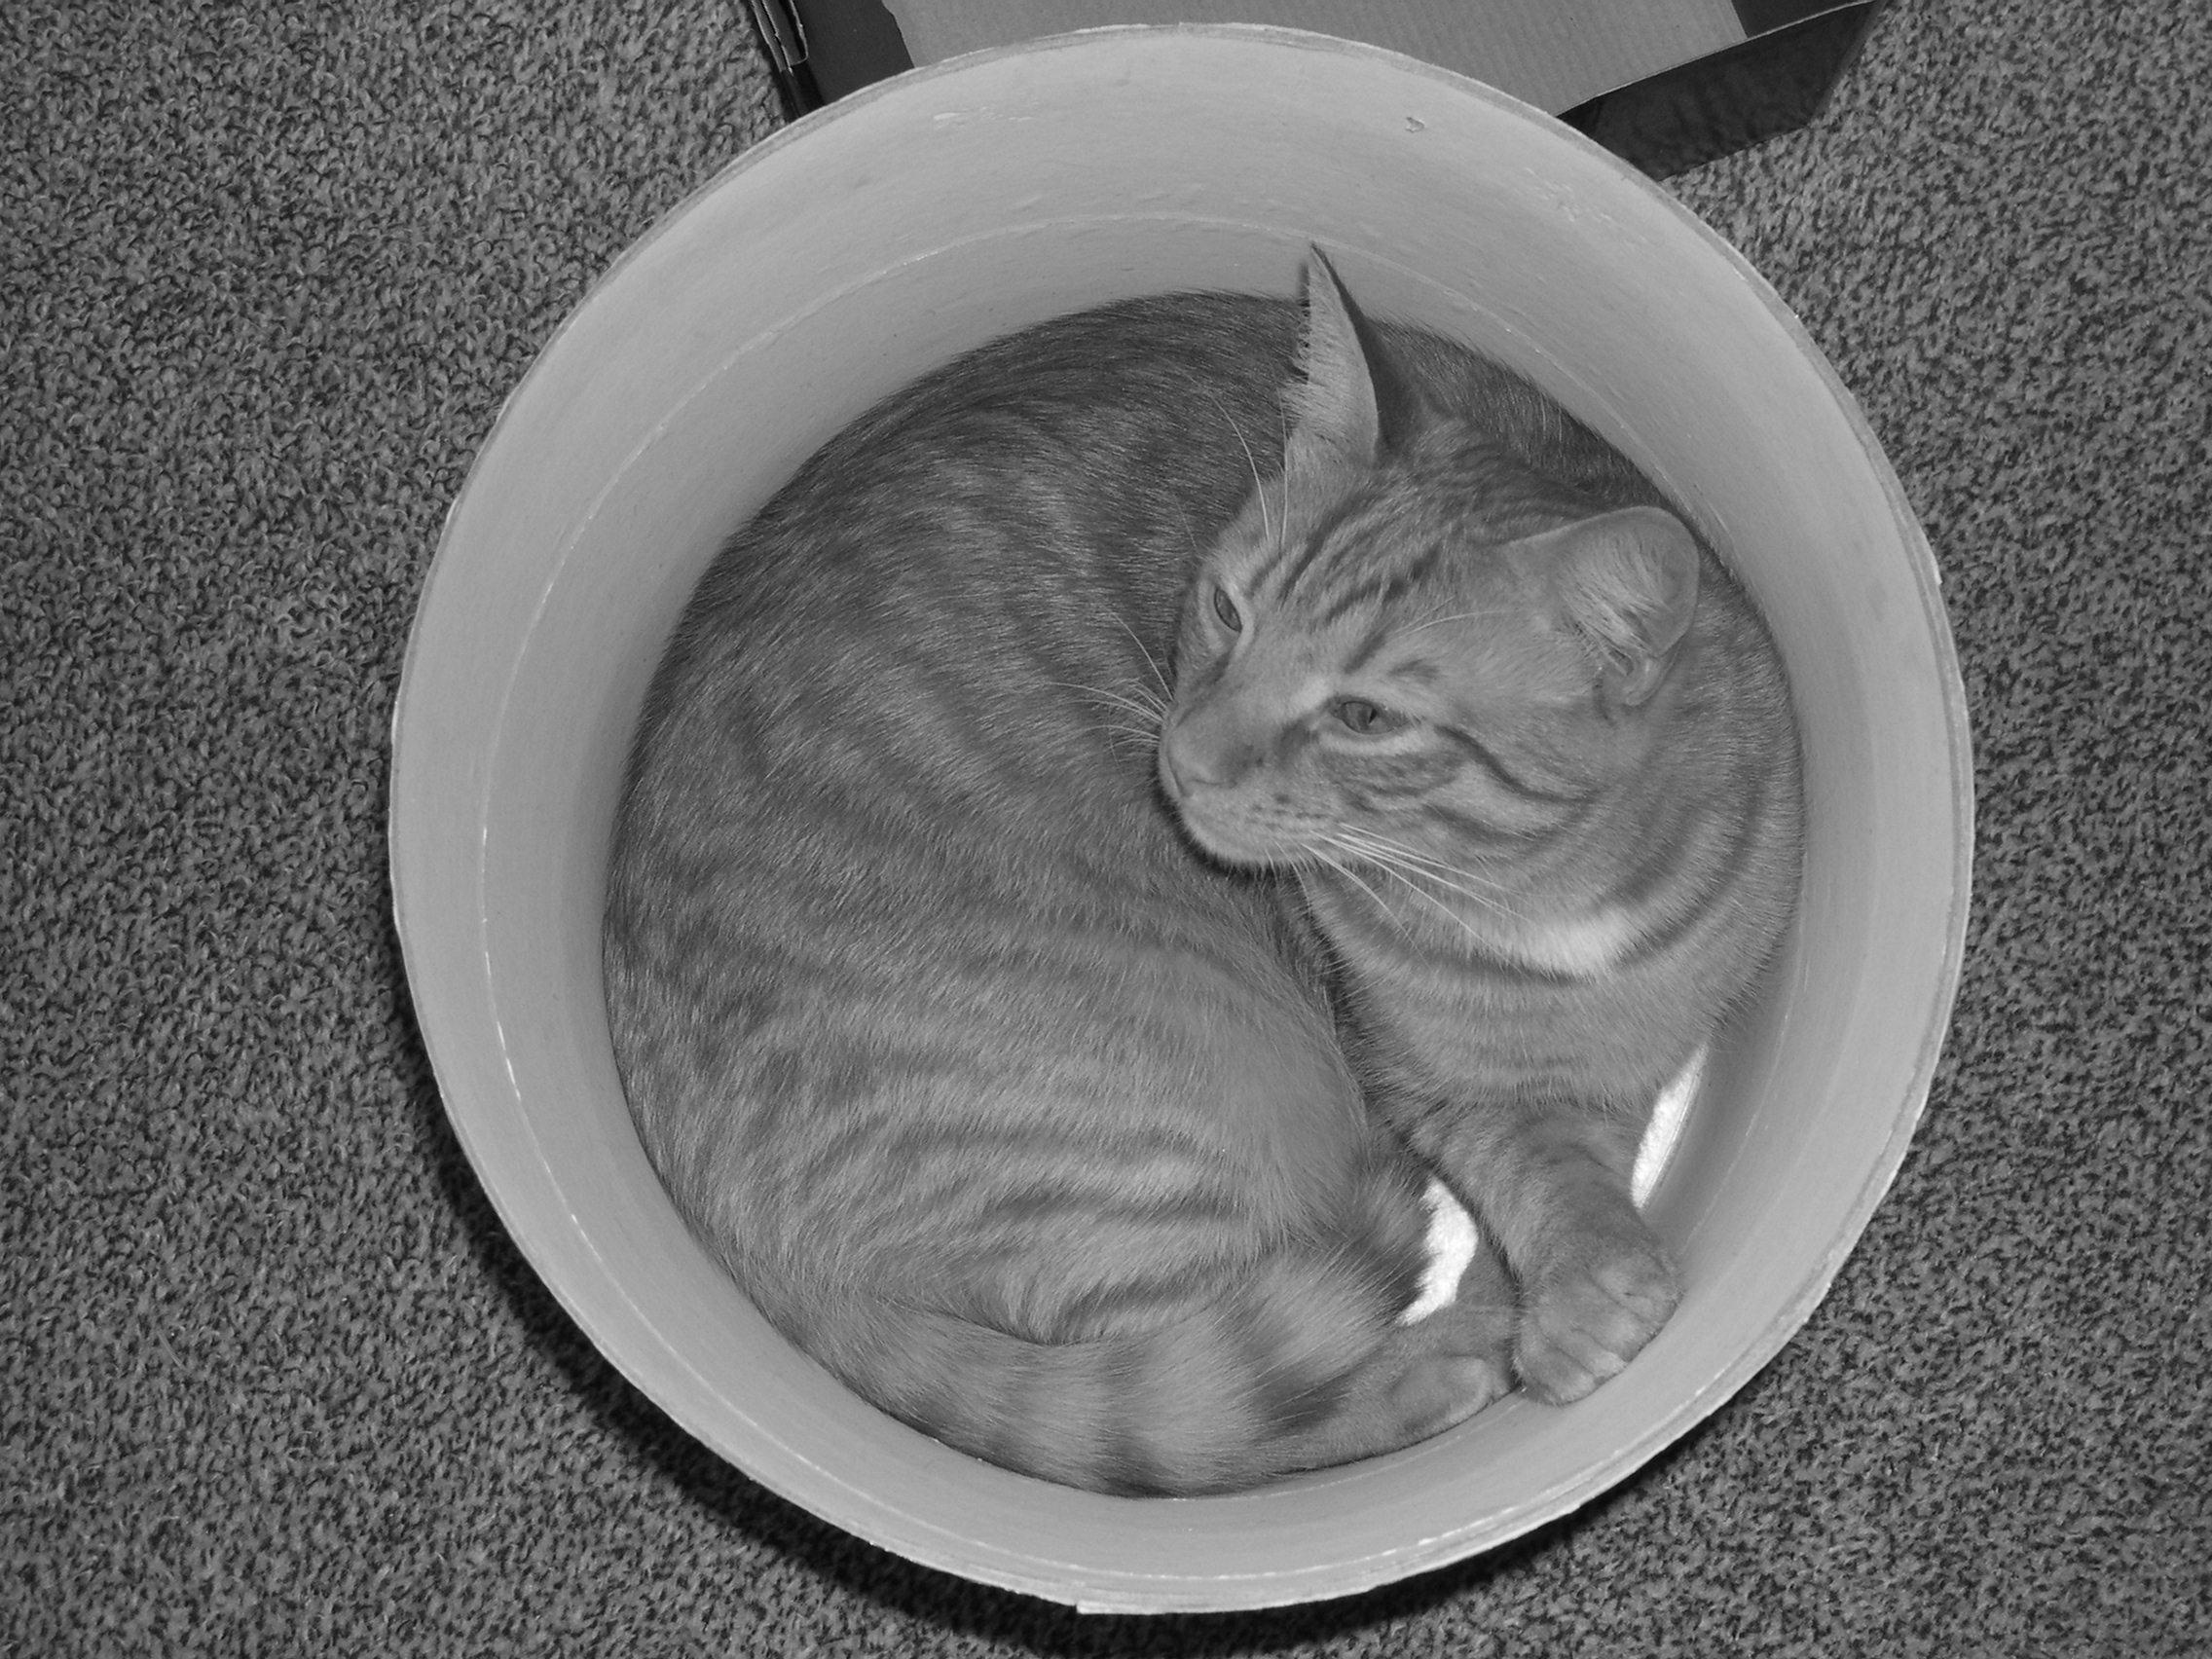
Desaturated photograph
Ultimately I’ll be wanted to detect edges, so to help things along I first heighten the contrast and brightness. I find that option under Colors > Brightness-Contrast… and I fiddle with different levels until I get this:
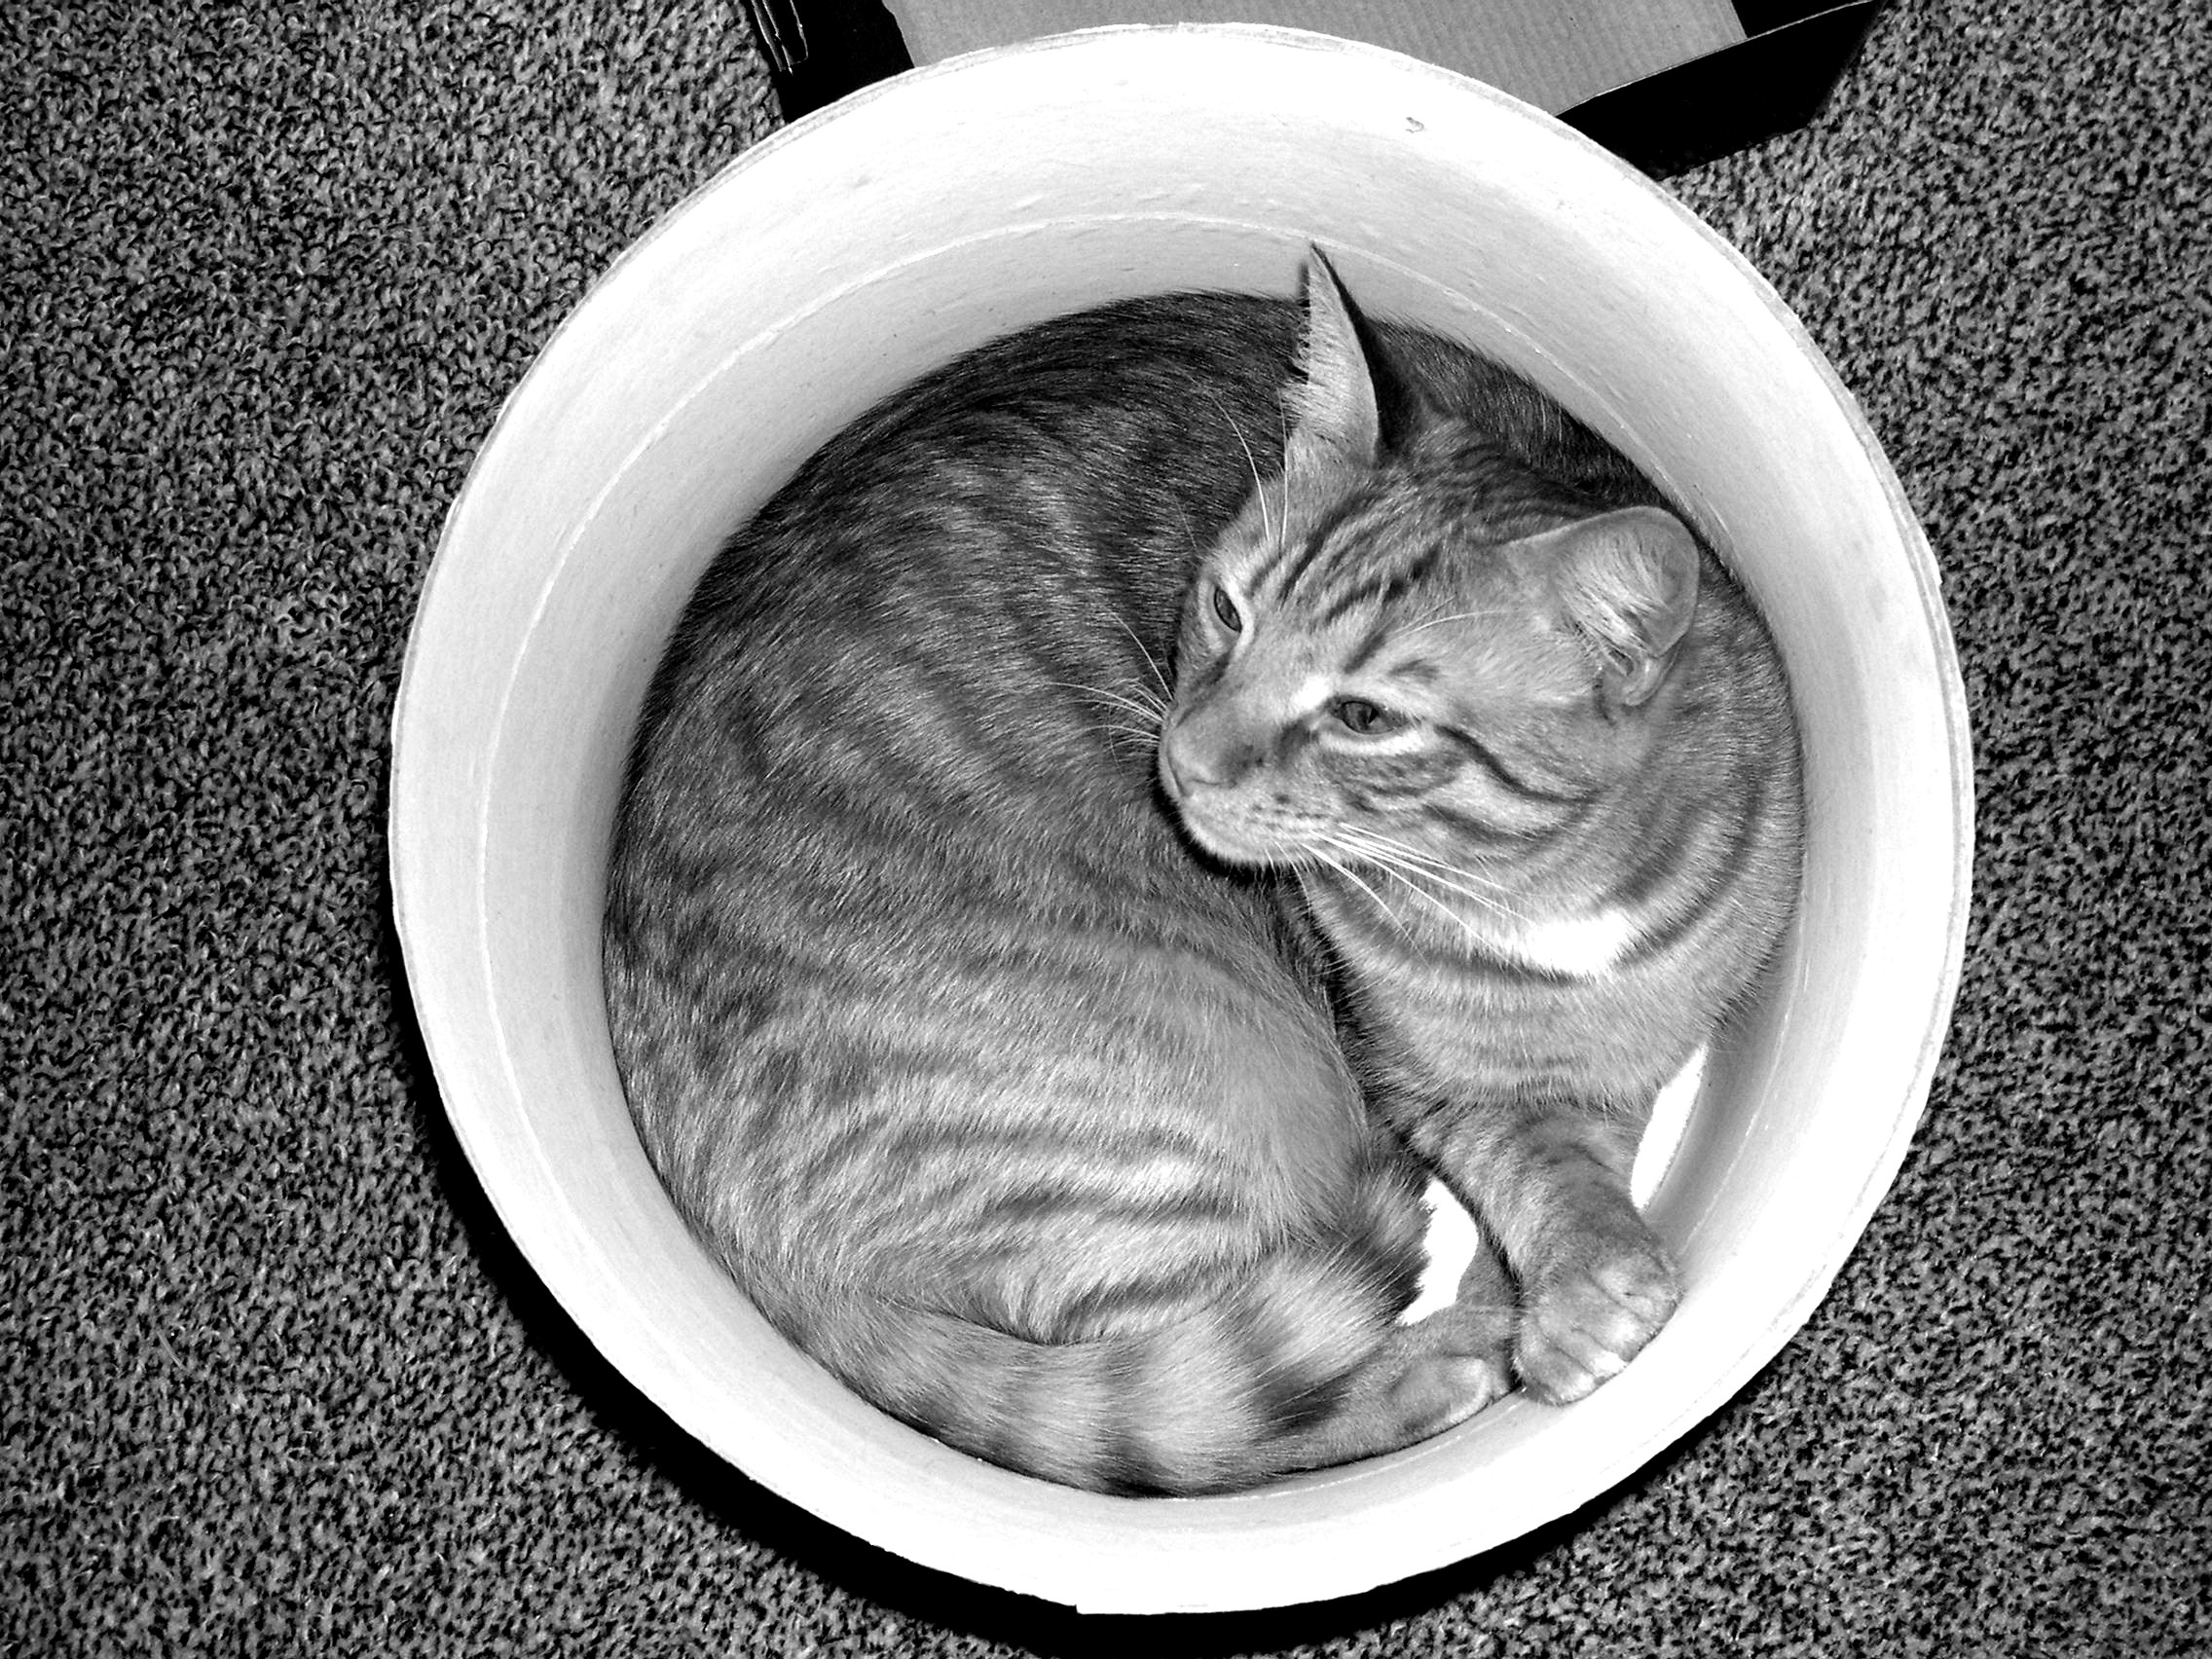
Desaturated photograph with heightened contrast
Now I’m ready to detect the edges. Under Filters > Edge-Detect I choose Difference of Gaussians and again fiddle a bit with the settings until I get something that looks good:
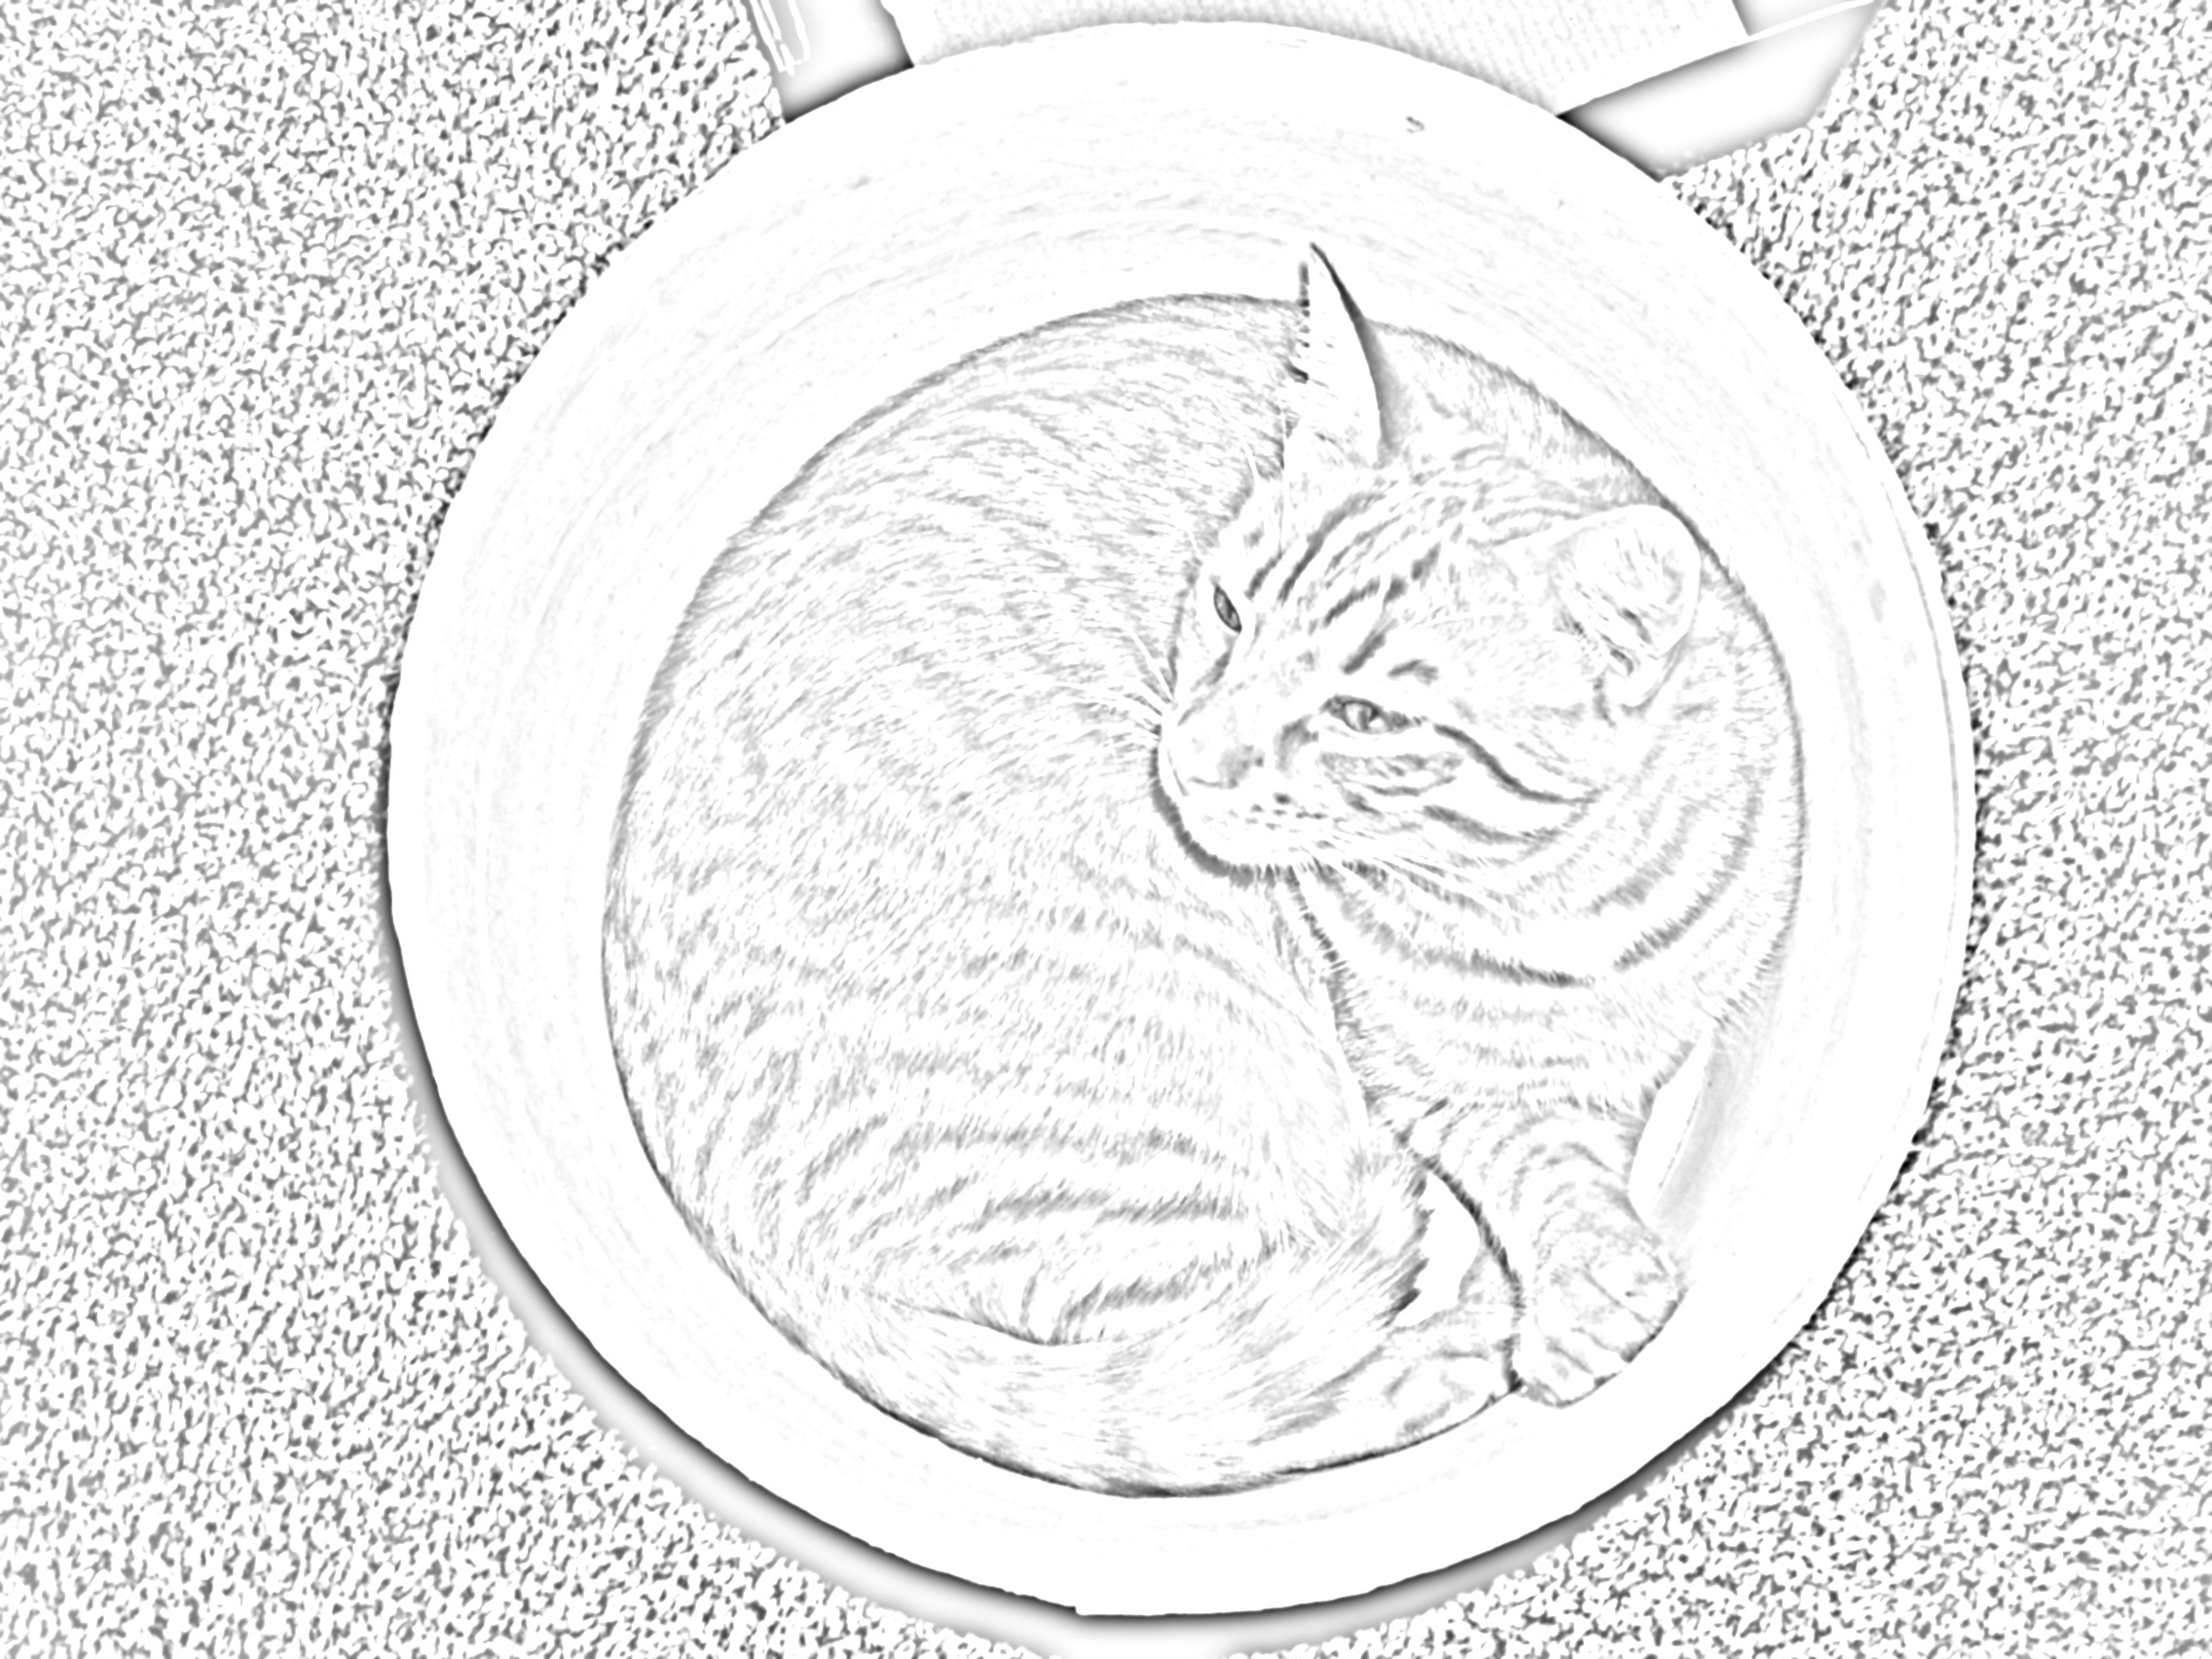
Edges detected
At this point I bump up the contrast again, though that may not have been necessary:
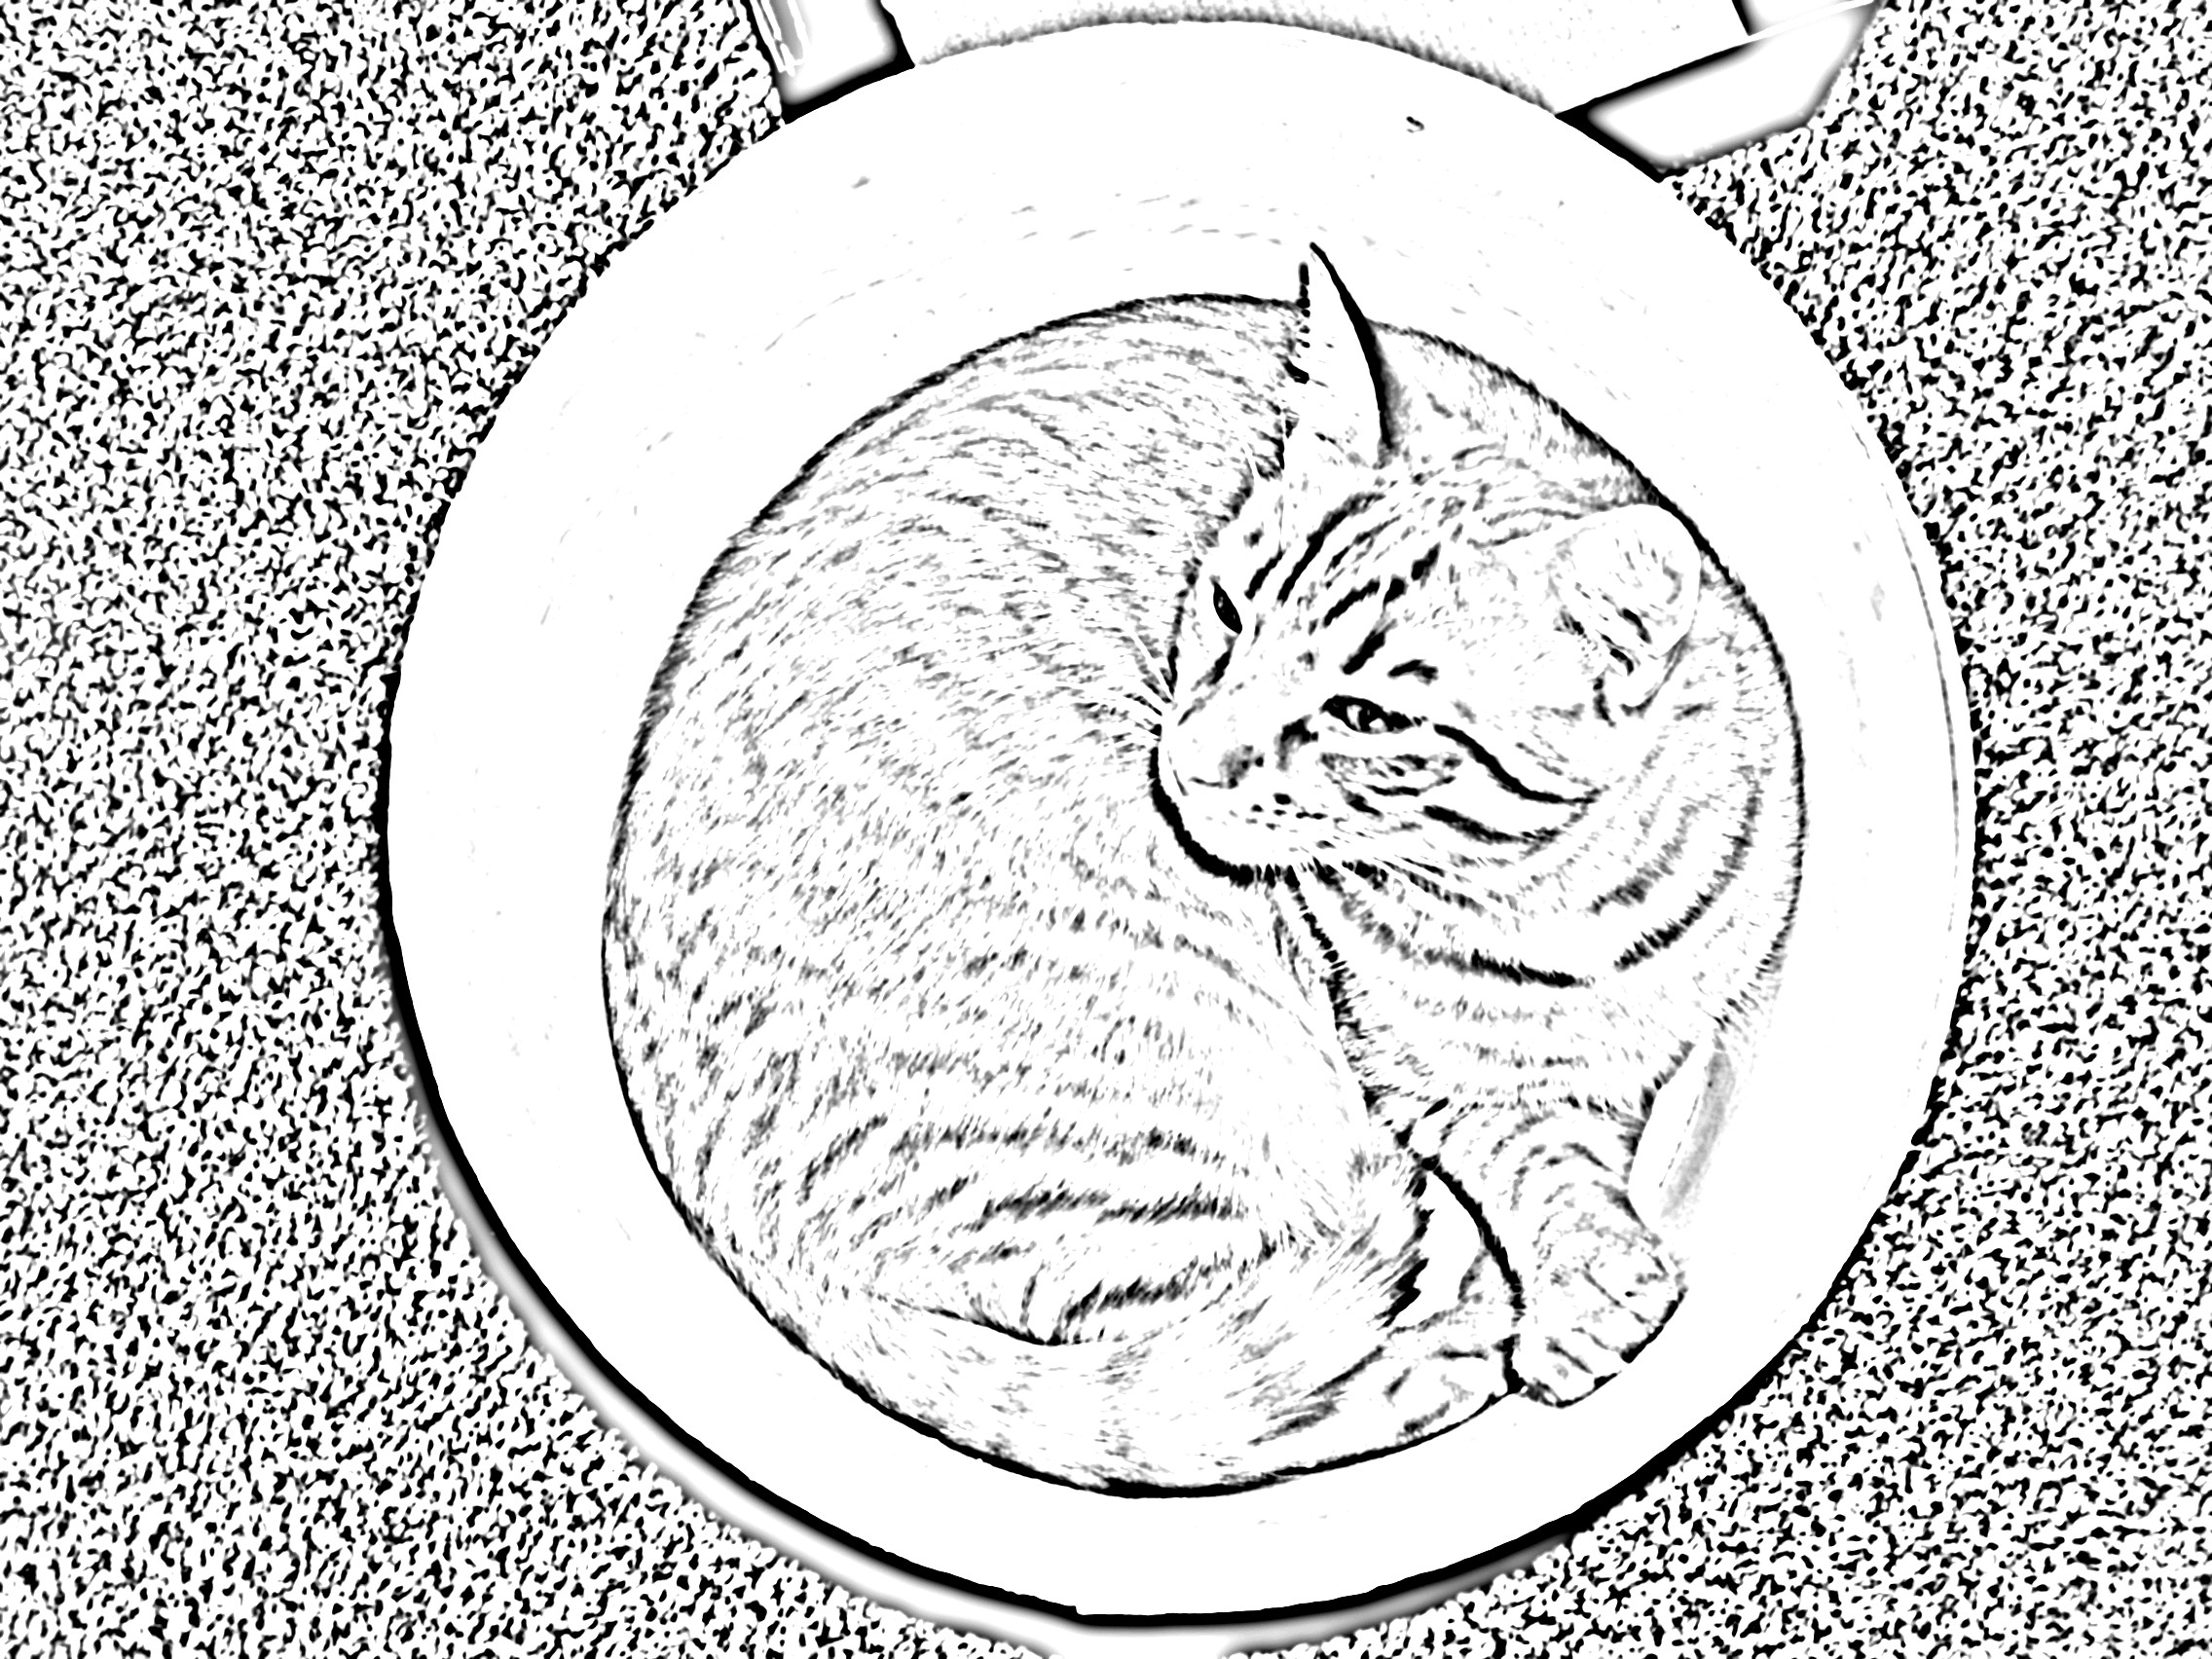
High-contrast edges
Next I convert the JPEG to a BMP using ImageMagick as described above, and finally I run potrace on that BMP:
potrace -s -t 80 -k 0.9 image.bmp
That gives us our SVG:

Scalable vector graphic
And then it’s finally time to play with the cat:

Scalable orange cat